In general, the word ‘scenario’ refers to a sequence of actions or events. UX professionals use scenarios in a variety of situations, the two most notable ones being usability testing (task scenarios) and ideation of new design ideas. In this article, we explore the latter UX use of scenarios.
Scenarios used for ideation are brief stories about a person using your product or service to complete a specific task. They provide your design team with useful context and common ground as it attempts to come up with design solutions.
The Anatomy of a Scenario
Scenarios are usually centered around one task that is key to your product and includes 5 elements:
- an actor
- a motivator
- an intention or intent
- an action
- a resolution
When writing a scenario, it’s best to use a specific persona as the actor carrying out the scenario. Doing so provides additional context and insight about how that particular user segment might perform the task. For example, below is a possible scenario for a hotel booking website.
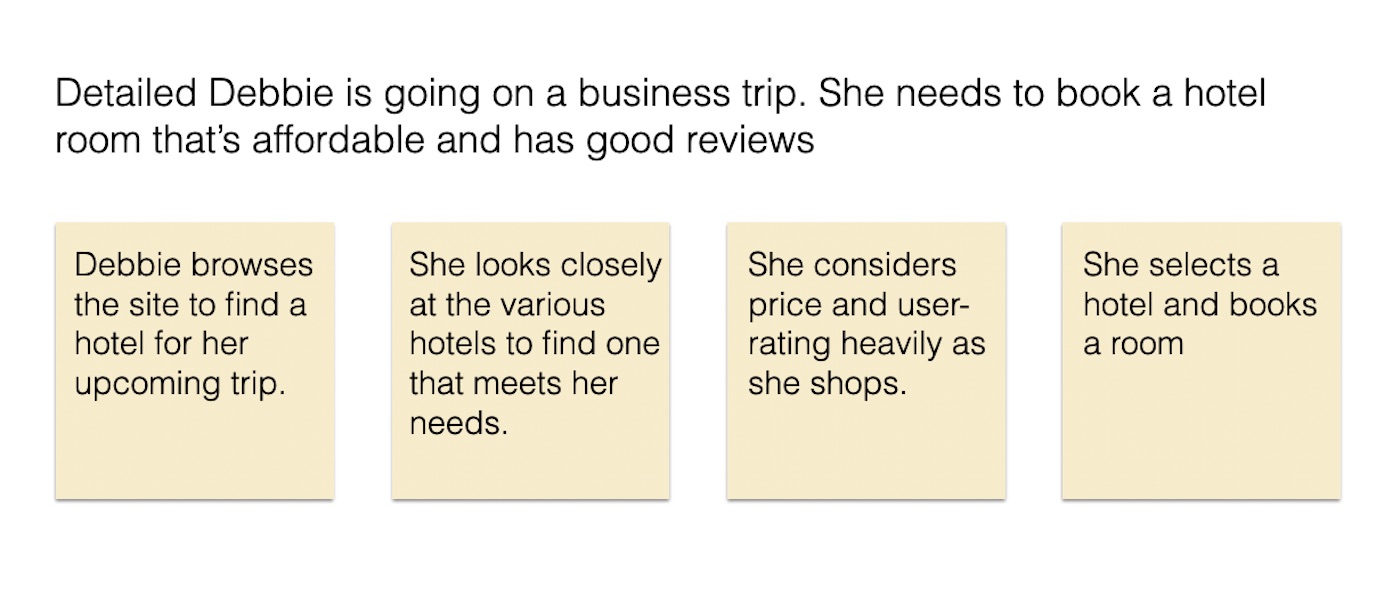
Detailed Debbie is going on a business trip. She needs to book a hotel room that’s affordable and has good reviews. Debbie browses the site to find a hotel for her upcoming trip. She looks closely at the various hotels to find one that meets her needs. She considers price and user ratings heavily as she shops. Debbie selects a hotel and books a room.
|
Actor |
Detailed Debbie |
|
Motivator |
is going on a business trip. |
|
Intention |
She needs to book a hotel room that’s affordable and has good reviews. |
|
Action |
Debbie browses the site to find a hotel for her upcoming trip. She looks closely at the various hotels to find one that meets her needs. |
|
Resolution |
Debbie selects a hotel and books a room. |
Getting the Right Level of Granularity
Scenarios are meant as an ideation tool for design. Like storytelling, they provide life to a potentially abstract idea (the main task), making it easier to empathize with users and provide insightful solutions. Because in essence, they are short narratives, they are more memorable than just a user task and a set of requirements. But there is a danger to taking the scenario too far and adding in too many details: it can lead to solutions that are too tailored to the scenario while ignoring the range of possible real-life situations.
Here are some guidelines to ensure the right level of granularity and detail:
- Keep scenarios high-level and avoid design specifics. Scenarios should inspire design ideas. Avoid injecting solutions too early, since these could inhibit or bias ideation. For example, avoid specifics like the following:
DON’T: Debbie goes to the Book a Hotel tab and uses the search bar to look for a hotel. She uses the left-side filter menu to filter the results. She considers price and user ratings heavily as she shops and adds those she likes best to her Favorites list. She revisits her Favorites list in her user profile.
- Include only a few general references to the personas’ needs and priorities. It’s okay to include a few high-priority, general user needs in the scenario, to ensure that they are taken into account during ideation. Our scenario, mentions Debbie’s interest in affordability, reviews, price, and ratings. However, be careful to avoid too many specifics and superfluous details. Doing so can make design ideation too specific in these early stages. Focus on the most important factors that would impact the user’s actions instead of creating a laundry list of every potential detail the persona might consider. The following example is too specific:
DON’T: Detailed Debbie is going on a business trip to Honolulu Hawaii, and she is traveling with her small dog, Penny. She needs to book a hotel room that’s affordable, has good reviews, and a minibar. It must also be on the 2nd floor near the elevator. Debbie browses the site to find a hotel. She looks closely at the various hotels to find one that meets her needs, spending 45 minutes looking at hotel photos trying to determine if the bed will be comfortable and if there is enough closet room for her clothes. As she shops, she considers price, user ratings, WIFI speed, and the availability of snacks provided free upon her arrival. Debbie selects a hotel and books a room using her American Express card. She hopes that taxi cabs are easy to reserve because she will have an early morning departure flight.
While the specificity of such a scenario may work if presented to a participant as a task in a usability test (though much too long), it will dampen ideation and will force the team to generate solutions matching all the details of the scenario instead of creating a general solution that will work in a variety of circumstances.
How to Use a Scenario for Ideation
Scenario mapping is a group exercise that helps your design team think about how your persona segments might approach an activity using your product or service and ideate around the type of experience you want to provide for them, producing candidate solutions for the future design. Scenario maps are related to the reality and design maps discussed by Tamara Adlin and John Pruit in their book on personas.
This activity should be done fairly early in a project to explore ideas that will influence user flows, features, and UI design.
Scenario-Mapping Workshops
A workshop that facilitates ideation around design solutions is called a scenario-mapping workshop. It involves the following components:
- Participants: 4–6 people of varying roles from your product team or stakeholder group so that differing points of view are represented
- Facilitator: A defined workshop leader who will guide participants through the activity and discussions
- Scenario(s): 1–2 scenarios for key tasks for your top 1–2 highest priority personas
- Supplies: An open whiteboard or wall space, 3–4 colors of sticky notes, and writing utensils
During the Workshop
- Set up the scenario. To begin, break your written scenario down into pieces. Write the persona, motivator, and intent at the top, to serve as guiding context. Then break the rest of the scenario down into smaller parts across 4-6 sticky notes placing them horizontally across the wall.
- Designate categories for ideation. Assign a different color of sticky note for 3 different ideation categories and provide each participant with a small stack of each color. Here are the ideation categories:
- Design ideas. For example, it might be helpful to let Debbie filter the reviews based on common keywords.
- Questions that arise at this step that you’ll want to resolve. For example, you might wonder if the hotel metadata taxonomy can support filtering by price and user-rating.
- Comments or considerations that may be relevant. For example, there might be variable information available in the database for amenities available at each hotel. Participants may want to call out this concern and capture it on the map to make sure related data structures are considered, as well as how these might impact solutions.

- Active Ideation. Next, take about 10-15 minutes overall for active ideation. During this time, all participants are encouraged to brainstorm relevant design ideas, questions, or comments and considerations in line with each section of the scenario posted on the wall. Direct participants to place their notes up on the wall under the relevant section as they go.

By the end of the time, you will see the wall filled up with ideas for discussion. Following ideation, take detailed photos to capture the state of the map before moving on and making changes.

- Discussion and debrief. Following ideation, the facilitator leads a discussion to review the ideas the group came up with. Discussion time is meant to help all participants see the breadth of ideas and quickly decide which ideas to explore further or not. During the discussion, the facilitator will go through each sticky note, acknowledging it and opening it up to the group for discussion. Be sure to tell participants ahead of time that these discussions are intended to be quick. If discussions cannot be wrapped up within a minute or two, post the sticky in a parking lot area. The group might also choose to take some notes off the board entirely — for example, if they were deemed unactionable or they included questions that were answered during the session.
During this time, the group may also organize stickies even further, by clustering them into subtopics.

- Capture and closing. Take another set of detailed photos capturing the final state of the map. The facilitator should also debrief the group around the next steps. It may also be helpful if one group member volunteers to digitize the state of the final map into a more-consumable format like a spreadsheet and share it out with the group.
If multiple scenarios or personas are being explored in the workshop, the process then repeats.
Converging Toward a Single Solutions
Any given scenario-mapping workshop should focus on 2–4 scenarios for timing purposes, as workshops that are too long can become exhausting and less effective near the end. However, the final design will have to accommodate a broad solution: a range of personas, performing a range of tasks under a variety of conditions and contexts. This means that your design team will have to determine which personas and tasks to include in scenario-mapping workshops. It’s possible you will hold multiple scenario-mapping workshops to cover the range of scenarios you deem most important.
Because we’re usually designing for more than one persona or customer segment, it’s a powerful exercise to map the same scenario for various different personas, since they may approach the same task very differently. Doing so gives you an idea of the varying needs of the users in relation to the task and positions designers to effectively come up with a single solution that can fulfill the needs of multiple users.
Following scenario-mapping workshops, designers should look across the variety of persona solutions that were brainstormed for a single task. They should seek commonalities and merge disparate ideas to converge on a single design solution that can support all personas and contexts.
You may not have the time or resources to do scenario mapping for every persona-task combination, but this does not mean you should ignore those low-priority scenarios. You should evaluate your design solution against these users and their needs, tweaking and iterating as necessary to ensure that the solution is serving all users as well as possible.
Conclusion
Scenario-mapping is a useful ideation tool that can prepare teams for design activities such as the creation of user flows and wireframes. Bringing participants with multiple perspectives on the project into a scenario-mapping workshop can get all considerations out in the open for upfront discussion and alignment before design solutions are explored. Ideating around scenarios centered around your personas ensures that your user data is central to ideation and leads to user-centered solutions.
Reference
John Pruitt, Tamara Adlin. 2006. The Persona Lifecycle: Keeping People in Mind Throughout Product Design. Morgan Kaufmann.


Share this article: